
How to Plan Wiring for a Home Addition
Summer is the busiest season for home additions in the Central Valley, and wiring is one of the first things you need to plan. A new bedroom, sunroom, or expanded kitchen needs power, lighting, and code compliant circuits before the drywall ever goes up. Good planning prevents expensive rework and keeps your project on schedule. It also protects your family from fire hazards caused by overloaded circuits or improper connections. Many homeowners focus on floor plans and finishes while treating the electrical work as an afterthought. That mistake costs time and money once the inspector shows up. This guide walks you through how to plan wiring for a home addition the right way. Follow these steps and your project will pass inspection the first time.
Steps to Plan Home Addition Wiring Before Construction Begins
Home addition wiring starts on paper, not in the walls. You need to know how much power the new space will use, where every outlet and switch will go, and how the lighting will function. Skipping this planning stage forces electricians to guess, and guessing leads to change orders. The National Electrical Code sets minimum requirements for outlet spacing, circuit capacity, and dedicated appliance circuits. California adds its own energy standards under Title 24, which affects lighting choices in new construction. A detailed wiring plan gives your contractor, electrician, and inspector the same roadmap. It also helps you budget accurately from day one. Here is how to build that plan step by step.
Create a Home Addition Wiring Load Calculation
Every home addition wiring plan begins with a load calculation. This calculation adds up the electrical demand of everything in the new space, from lighting and general outlets to appliances and HVAC equipment. Electricians measure this demand in watts and amps, then compare it against what your existing electrical system can supply. A single bedroom might only need 15 to 20 amps of new capacity. A kitchen expansion or master suite with a mini split system can demand 50 amps or more. The NEC provides standard formulas for general lighting loads, which are based on square footage. Dedicated circuits for appliances like ranges, dryers, and water heaters get counted separately. Getting this number right determines everything else in the project.
The load calculation tells you if your current panel can handle the addition. Many older Patterson and Central Valley homes still run on 100 amp service, which fills up fast. Adding a new room with air conditioning wiring, multiple outlets, and modern lighting can push that panel past its safe limit. An overloaded panel trips breakers constantly and creates real fire risk. The calculation also accounts for future needs you might not have considered yet. Planning to add an EV charger or hot tub down the road changes the math significantly. Smart homeowners calculate for tomorrow, not just today. It costs far less to size things correctly now than to upgrade twice.
Do not attempt the load calculation yourself unless you have electrical training. The formulas involve demand factors, continuous load multipliers, and appliance nameplate ratings that trip up most DIYers. An error here cascades through the entire project and can fail inspection at the final stage. A licensed electrician performs this calculation quickly and documents it for the permit application. Inspectors often request the load calculation before approving panel work. Having professional documentation speeds up the approval process. It also gives you a written record if you sell the home later. Buyers and appraisers value proof that additions were engineered properly. Need help planning your project? Click here for our home addition wiring service.
Map Out Outlets and Switches in Your Home Addition Wiring Plan
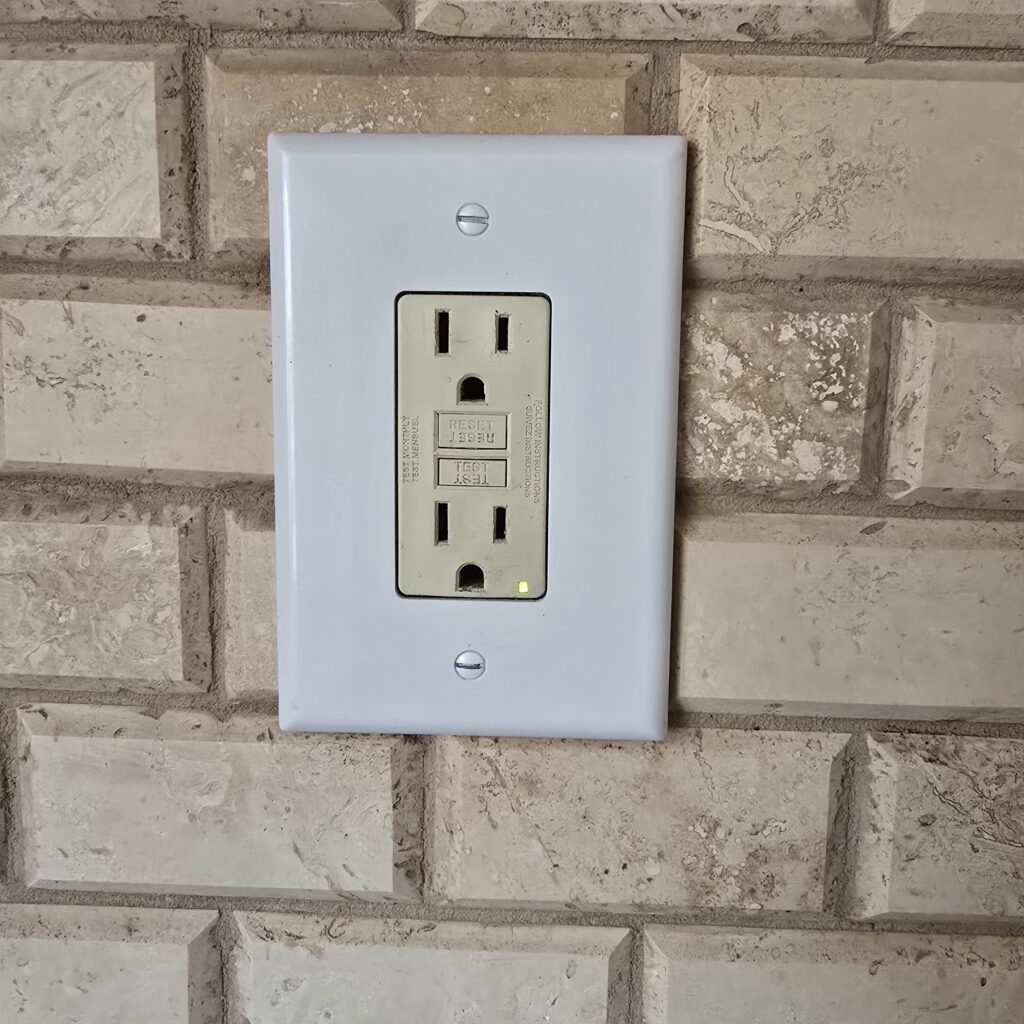
Outlet placement is where home addition wiring plans succeed or fail for daily living. The NEC requires receptacles so that no point along a wall is more than six feet from an outlet. That is the minimum, and minimums rarely match how people actually live. Think about where your bed, desk, television, and chargers will sit in the finished room. Sketch the furniture layout first, then place outlets to serve it. Bathrooms in the addition need GFCI protected receptacles within three feet of the sink basin. Kitchens require GFCI outlets along countertops spaced no more than four feet apart. Bedrooms and living areas now require arc fault circuit interrupter protection as well, which stops fires caused by damaged wiring.
Switch placement deserves the same attention as outlets. Every room entrance needs a switch controlling the lighting, and rooms with two entrances need three way switches at both doors. Hallways and stairs in the addition require switched lighting at each end by code. Consider dimmer switches in bedrooms and living spaces, since they add comfort and cut energy use. Ceiling fan locations need their own switch legs, and many homeowners want separate controls for the fan and light. Exterior doors leading from the addition need a switched light outside. Planning these details before framing means the electrician can rough in boxes at the perfect height and location. Moving a switch after drywall costs ten times more than placing it right the first time.
Do not forget the outlets people always wish they had added. Plan a receptacle behind wall mounted television locations so cords stay hidden. Include USB combination outlets near nightstands and desks for device charging. Closets benefit from an outlet for cordless vacuum chargers. Outdoor walls of the addition should get weather resistant GFCI receptacles for holiday lights and yard tools. Consider a dedicated 20 amp circuit for a home office if the addition includes workspace, since computers and monitors add up. Garages and workshops attached to additions need their own circuit requirements under current code. Each of these small decisions shapes how useful the space feels for decades. Write them all into the plan before the first wire gets pulled.
Include Lighting Circuits in Your Home Addition Wiring Design
Lighting deserves its own section in any home addition wiring design. California Title 24 requires high efficacy lighting in new construction, which means LED fixtures in nearly every application. Recessed cans remain the most popular choice for additions because they provide even light without eating headroom. Plan the layout on a grid, typically spacing four inch or six inch cans about four to six feet apart depending on ceiling height. Bedrooms usually need four to six recessed lights plus a ceiling fan location in the center. Kitchens demand layered lighting with cans for general light, pendants over islands, and under cabinet fixtures for task work. Bathrooms need vanity lighting at face height plus a ceiling fixture. Each layer should ride on its own switch so you control the mood and the energy bill.
Circuit design matters as much as fixture selection. Lighting loads in the addition should sit on 15 amp circuits separate from the receptacle circuits. Separating them means a tripped outlet breaker never leaves you standing in the dark. LED fixtures draw so little power that one circuit often handles the entire addition, but the plan should confirm this with actual wattage numbers. Vaulted ceilings, which are common in Central Valley additions, change fixture choices since standard cans may need airtight rated housings for insulation contact. Exterior lighting on the addition needs photocell or timer controls to meet Title 24. Motion sensor fixtures near new entry doors add security without adding to the bill. Think through every fixture before the electrician quotes the job.
Smart lighting is worth considering while the walls are open. Smart switches need a neutral wire in the switch box, and planning for this during rough in costs almost nothing. Retrofitting neutrals later means fishing wire through finished walls. Consider wiring for future ceiling fixtures even in spots where you start with none, since a capped junction box costs little during construction. Closet lighting must meet specific clearance rules from shelves, so LED surface fixtures are usually the safe pick. Hallway and stairway lighting in additions must meet the same code as the rest of the house. Natural light changes across the day, and layered circuits let the room adapt with it. A well designed lighting plan makes the addition feel like it always belonged to the house. Poor lighting makes even a beautiful room feel like an afterthought.
Electrical Panel and Permit Requirements for Home Addition Wiring
Home addition wiring almost always touches your electrical panel, and it always requires permits. These two topics stop more addition projects than any other electrical issue. Your panel has a fixed number of breaker spaces and a fixed amperage rating, and additions consume both. Permits protect you legally and financially, since unpermitted electrical work can void insurance claims and complicate home sales. Stanislaus County and the City of Patterson both enforce the California Electrical Code, which adopts the NEC with state amendments. Inspectors check rough wiring before drywall and final connections before occupancy. Understanding these requirements up front keeps your project moving. Here is what you need to know about panels, permits, and inspections.
Check Panel Capacity Before Home Addition Wiring Starts
Your electrical panel is the heart of the home addition wiring project. Every new circuit needs a breaker space, and every added load needs available amperage. Open your panel door and count the empty slots before planning anything else. A typical addition needs three to six new circuits covering lighting, general receptacles, and any dedicated appliance loads. If your panel is full, tandem breakers sometimes help, but many older panels do not accept them safely. Panels made by Federal Pacific and Zinsco are known fire hazards and should be replaced regardless of the addition. Even panels with open slots can lack the amperage headroom your load calculation demands. Capacity is about both space and power.
Homes built before the 1990s often carry 100 amp service, and that is frequently not enough for a modern addition. Central Valley summers push air conditioners hard, and adding conditioned square footage adds cooling load. A 200 amp panel upgrade gives your addition room to breathe and prepares the home for EV chargers, electric appliances, and solar down the road. The upgrade involves new service equipment, a new meter socket in many cases, and coordination with your utility. It typically takes one day of work once permits and utility scheduling line up. Doing the panel upgrade before or during the addition saves you from paying mobilization costs twice. It also lets the electrician land the new addition circuits directly in fresh equipment. Think your panel is maxed out? Click here for our electrical panel upgrade service.
A subpanel is another option when the main panel sits far from the addition. Electricians install a subpanel in or near the new space and feed it with a single large circuit from the main panel. This approach shortens every branch circuit run, which saves copper and labor. It also keeps the addition’s breakers in one convenient spot. Subpanels work well for garage conversions, detached additions, and second story expansions. The feeder size depends on the load calculation, with 60 amp and 100 amp feeders being common choices. Grounding rules for subpanels are strict, requiring separated neutral and ground bars. This is licensed electrician territory, not a weekend project. Done right, a subpanel makes the whole addition cleaner and easier to service for life.
Pull the Right Permits for Home Addition Wiring
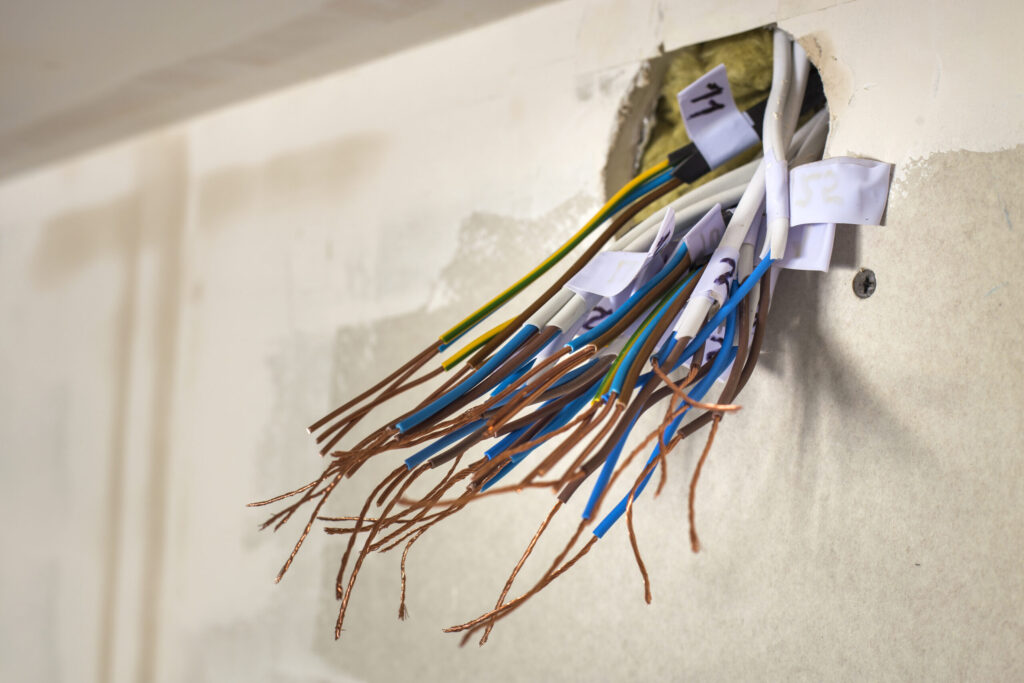
Permits are not optional for home addition wiring anywhere in California. The addition itself needs a building permit, and the electrical work rides along as part of that permit or as a separate electrical permit. Patterson homeowners apply through the city building department, while county residents go through Stanislaus County. The application typically requires your site plan, floor plan, and electrical layout showing circuits, outlets, and fixtures. The load calculation often gets submitted too, especially when panel work is involved. Fees scale with project size but remain small compared to the cost of getting caught without one. Unpermitted work discovered later must be opened up, inspected, and often redone. That means tearing out finished drywall you already paid for.
Skipping permits creates problems that follow the house forever. Insurance companies can deny fire claims when unpermitted wiring is involved, leaving you personally responsible for catastrophic losses. Home sales stall when inspectors or appraisers flag additions with no permit history. Buyers negotiate steep discounts or walk away entirely. Lenders sometimes refuse to finance homes with unpermitted square footage. Cities can also require you to remove unpermitted work or pay penalty fees that double or triple the original permit cost. None of these risks are worth the few hundred dollars a permit costs. The permit also buys you something valuable: an independent inspector verifying the work is safe. That verification protects your family, not just your paperwork.
Licensed electricians handle the permit process for you in most cases. They know what each jurisdiction requires, how to format the plans, and which inspectors cover which areas. They also carry the license number the permit application demands. Homeowners can pull owner builder permits in California, but that route makes you legally responsible for code compliance. Most people underestimate how detailed electrical code requirements are until an inspection fails. A failed inspection means corrections, a reinspection fee, and schedule delays while your drywall crew waits. Professionals pass inspections because they wire to code every day. Let the electrician own the permit and the inspection outcome. Your job is choosing outlet locations, not memorizing code articles.
Schedule Inspections for Home Addition Wiring
Home addition wiring gets inspected at least twice during the project. The first inspection is the rough in, which happens after wires are pulled and boxes are set but before insulation and drywall go in. The inspector checks wire gauge, box fill, stapling, nail plates, circuit routing, and grounding at this stage. Everything must be visible, so scheduling matters; covering wiring before rough approval is a serious violation. The second inspection is the final, which happens after devices, fixtures, and panel connections are complete. The inspector tests GFCI and AFCI protection, checks breaker labeling, and verifies the work matches the approved plans. Some projects add a service inspection when the panel gets upgraded. Passing each stage keeps the project timeline intact.
Preparation makes inspections painless. Your electrician should walk the job before calling for inspection, checking every box, connection, and label against the plan. Common rough in failures include missing nail plates where wires pass close to stud edges, overfilled junction boxes, and unsecured cables. Common final failures include mislabeled panels, missing GFCI protection, and reversed polarity on receptacles. A quality electrician catches these before the inspector ever arrives. Inspectors in Stanislaus County are generally reasonable and want projects to succeed. They respond well to clean, organized work with clear labeling. Sloppy work invites extra scrutiny on everything else in the job.
Timing inspections correctly protects your construction schedule. Rough electrical inspection usually coordinates with rough plumbing and framing inspections, so all trades need to finish before the call. Summer is peak construction season in the Central Valley, and inspection slots fill up fast from June through September. Book early and confirm the day before. If corrections come up, address them the same week to hold your place in line. Your drywall contractor cannot hang a single sheet until rough approval posts. Every day of inspection delay pushes the entire finish schedule. A licensed electrician who works in your jurisdiction regularly knows the inspectors and the local quirks. That relationship smooths the process more than most homeowners realize. Want a professional to verify your existing wiring first? Click here for our electrical inspection service.
Why You Need a Licensed Electrician for Home Addition Wiring
Home addition wiring is not a DIY project, and California law backs that up. Any electrical work valued over 500 dollars requires a licensed C-10 electrical contractor when performed for hire. The stakes are simply too high for guesswork; wiring errors hide inside walls for years before causing fires. A licensed electrician brings code knowledge, proper tools, insurance coverage, and accountability to your project. They also carry the workmanship warranty that protects your investment. Here is why professional home addition wiring pays for itself.
Licensed Electricians Keep Home Addition Wiring Safe and Code Compliant
Safety is the first reason to hire a licensed electrician for home addition wiring. Electrical fires cause tens of thousands of home fires in the United States every year, and faulty wiring is a leading cause. Hidden mistakes like loose connections, undersized wire, and missing grounding create hazards that smoke detectors catch too late. Licensed electricians follow the California Electrical Code on every connection. They install AFCI and GFCI protection exactly where code demands it. Your family sleeps in that addition, and the wiring behind the walls should never be a question mark.
Code compliance also protects the legal standing of your addition. Inspectors approve work that meets code and reject work that does not, with no middle ground. Licensed electricians pass inspections because they train continuously on code updates. The NEC revises every three years, and California adopts changes with state amendments. Amateurs working from old YouTube videos wire to standards that expired a decade ago. Compliance today means no forced corrections tomorrow.
Insurance and liability round out the safety picture. Licensed contractors carry liability insurance and workers compensation, so an accident on your property does not become your financial problem. Unlicensed workers injured in your home can sue you directly. Homeowner insurance policies also scrutinize electrical fire claims, and unpermitted amateur wiring gives adjusters grounds to deny. A licensed electrician’s work comes with documentation that supports any future claim. That paper trail is worth as much as the wiring itself.
Professional Home Addition Wiring Saves Money Over Time
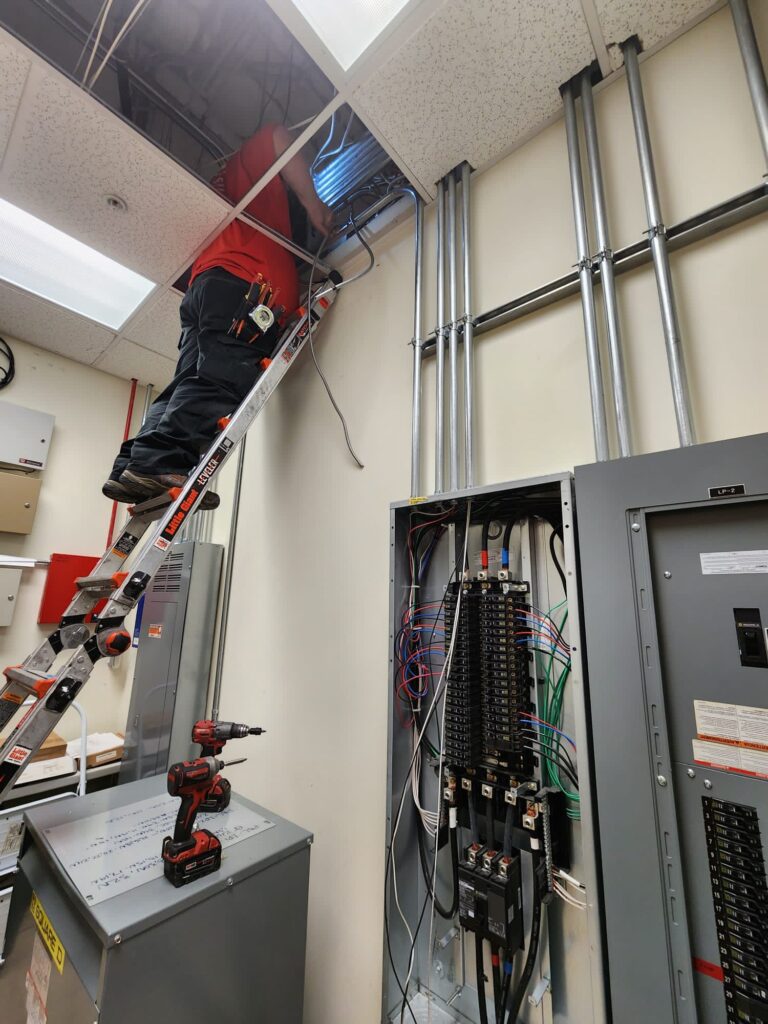
Professional home addition wiring costs less than it appears when you count the full picture. Amateur wiring mistakes get discovered at inspection, and corrections mean opening walls, buying new material, and paying for the work twice. Failed inspections also stall the drywall, paint, and flooring crews behind them. Those delays carry real costs in a busy summer construction season. A licensed electrician wires it right the first time and keeps the schedule intact. First time quality is the cheapest quality there is.
Proper wiring also cuts operating costs for the life of the addition. Correctly sized circuits run cooler and waste less energy than overloaded ones. Title 24 compliant LED lighting slashes the electric bill compared to older fixtures. Smart planning during rough in, like dedicated circuits and dimmer controls, keeps energy use matched to actual need. Central Valley summers punish inefficient homes with brutal cooling bills. Efficient wiring choices made now pay dividends every August.
Resale value is the final piece of the savings math. Permitted, professionally wired additions count fully toward your home’s square footage and appraisal. Buyers pay confidently for space with a clean inspection history. Home inspectors during a sale flag amateur wiring instantly, and those reports kill deals. Documented professional work removes that risk entirely. The addition becomes an asset instead of a disclosure problem.
Why Choose Frayer Electric for Home Addition Wiring
Frayer Electric is licensed, insured, and locally owned right here in Patterson, California. We serve the entire Central Valley, from Modesto and Turlock to Tracy, Manteca, and Los Banos. Our team handles home addition wiring from load calculation through final inspection. We provide straightforward quotes with no hidden fees, so the price you approve is the price you pay. Integrity guides every job we take. We are committed to getting it done right every time.
We make the process easy for homeowners tackling their first addition. Our electricians coordinate with your general contractor, pull the permits, and schedule the inspections. We plan outlets, lighting, and panel capacity around how you will actually use the space. Veteran, senior, and first responder discounts are available on every project. Questions get answered in plain language, not contractor jargon. You stay informed from rough in to final walkthrough.
When something goes wrong outside business hours, we are still here. Frayer Electric offers 24/7 emergency service across our entire service area. That means the same team that wired your addition answers the phone when a breaker fails at midnight. Call us at (209) 961-3867 or email info@frayerelectricinc.com to get started. Visit us at 432 Peregrine Dr, Patterson, CA 95363. Let Frayer Electric power your home addition the right way.