
How to Safely Add Power to a Detached Garage
A detached garage is one of the most versatile assets a homeowner in Patterson can possess. It is a blank canvas that stands separate from the main house. It offers privacy and space that can be transformed into almost anything. You might envision a dedicated woodworking shop where sawdust does not track into your living room. perhaps you see a quiet home office away from the noise of the household. You may simply want a secure place to charge an electric vehicle or store a classic car. Whatever the dream, the reality often hits a significant roadblock. That roadblock is a lack of electricity. Many detached garages were built only for storage, with perhaps a single light bulb powered by a thin wire strung overhead, or no power at all.
Transforming this dark, hollow shell into a functional workspace requires energy. It needs a safe, reliable connection to your home’s electrical grid. This is not a minor project. Bringing power to a detached structure is a complex electrical undertaking that involves trenching, heavy gauge wiring, and strict adherence to safety codes. It is far more involved than adding an outlet to a bedroom wall. The distance from the main house, the exposure to the elements, and the potential for high power usage all create unique challenges. Addressing these challenges correctly is the only way to protect your property from fire hazards and ensure your new workspace is safe to use.
The Danger of Temporary Solutions
When faced with a lack of power, the temptation to use a quick fix is strong. The most common and most dangerous “solution” is the extension cord. A homeowner might buy a hundred foot, heavy duty extension cord, plug it into an exterior outlet on the house, and run it across the lawn to the garage. They might even bury it just below the surface of the dirt to hide it. This is a recipe for disaster. Extension cords are designed for temporary use only. They are not built to withstand constant exposure to sunlight, rain, and soil moisture.
Over time, the insulation on an extension cord will degrade. The sun’s UV rays make the plastic brittle and prone to cracking. Moisture from the ground seeps into the copper wire, causing corrosion and resistance. This damage creates a shock hazard for anyone walking in the yard, especially children or pets. Furthermore, a long extension cord suffers from significant voltage drop. As electricity travels over a long distance through a thin wire, it loses “pressure.” By the time the power reaches your saw or your heater in the garage, the voltage is too low. This causes motors to overheat and burn out. It can also cause the extension cord itself to melt and ignite dry grass or leaves.
Another improper method is tapping into an existing circuit incorrectly. Some might try to splice into a nearby landscape light or an outdoor outlet to feed the garage. These circuits are almost never rated for the load of a workshop. They are usually 15 amp circuits that are already sharing power with other devices. Adding the load of a garage to an already busy circuit guarantees tripped breakers and overloaded wires. To power a detached garage safely, you must stop thinking about temporary patches and start planning for a permanent, dedicated electrical feeder system.
Assessing Your Power Needs
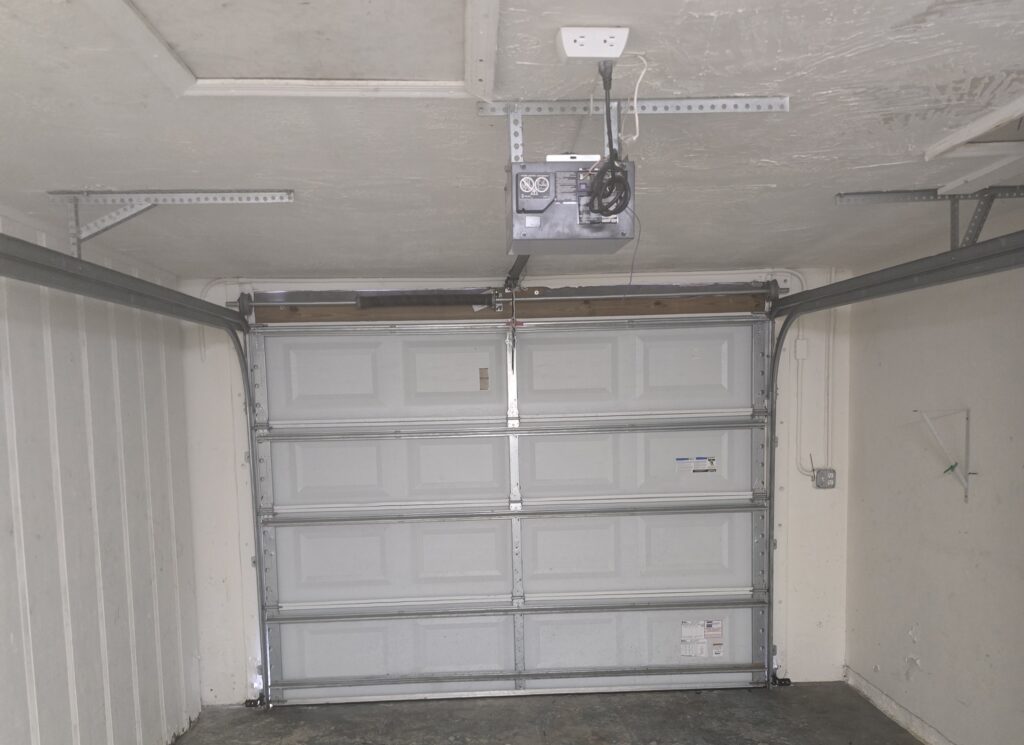
The first step in a proper installation is determining exactly what you want to do in the garage. The scope of the electrical work depends entirely on your intended use. If you simply want a few LED overhead lights and an automatic garage door opener, the requirements are relatively modest. You might be able to get by with a single 20 amp multi-wire branch circuit. However, most homeowners in Patterson have bigger plans.
Need your garage wiring done? Click here for our garage wiring service.
If you intend to use the space as a workshop, you need to account for power hungry tools. Table saws, air compressors, welders, and dust collectors draw massive amounts of current. Many of these tools run better, or only run, on 240 volt power. This means you need a system capable of delivering both 120 volts for lights and 240 volts for machinery. Similarly, if you plan to install a Level 2 electric vehicle charger, you are adding a continuous, heavy load that requires a robust electrical supply.
Heating and cooling are also major factors. The Central Valley gets hot in the summer and cold in the winter. If you want to install a mini split AC unit or run an electric space heater, your power calculation must include these heavy draws. An electrician will perform a load calculation based on your wish list. This calculation determines the size of the wire needed and the size of the subpanel that will be installed in the garage. It is always better to plan for more power than you think you need. It is much cheaper to install a slightly larger wire now than to have to dig up the trench and do it all over again in five years when you buy a new welder or an electric truck.
The Role of the Subpanel
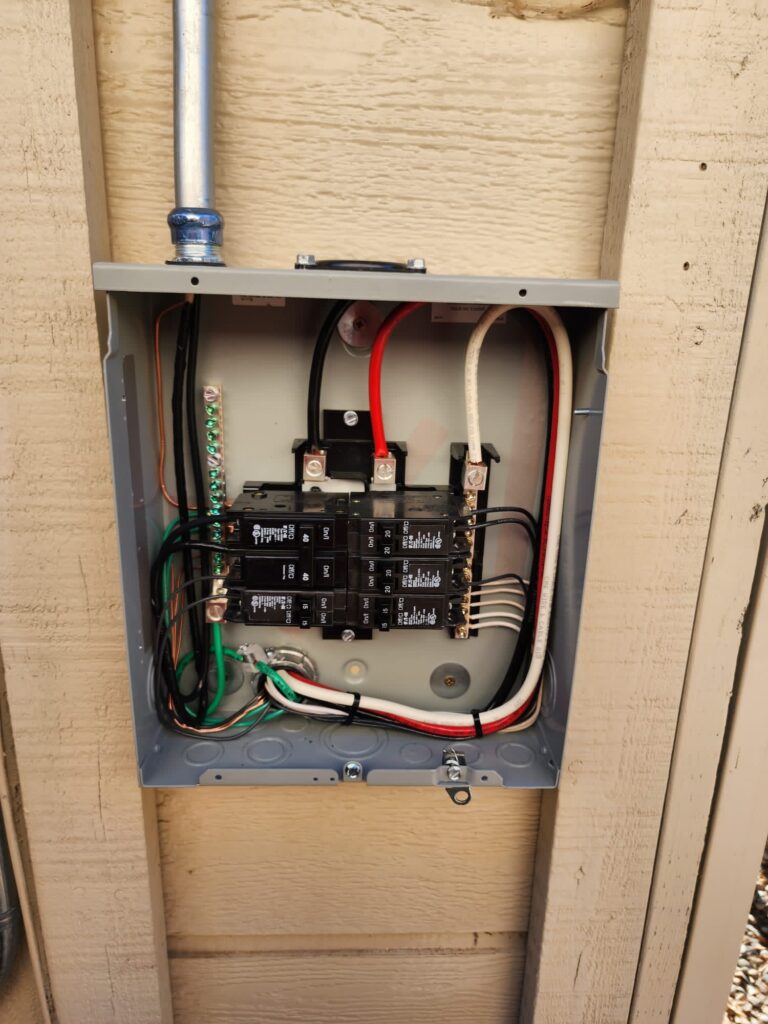
For most detached garage projects, the correct approach is to install a subpanel. A subpanel is essentially a smaller version of your main breaker box. It sits inside the garage and acts as a local distribution point. Instead of running five or six separate wires from your house for every outlet and light switch, you run one set of large feeder wires to the subpanel. From there, you can install individual circuit breakers for your garage lights, outlets, and tools.
A subpanel offers superior safety and convenience. If you trip a breaker while using a table saw, you simply walk over to the subpanel in the garage to reset it. You do not have to walk back to the main house in the dark or rain. It also allows for easy expansion. If you decide to add more outlets later, the power is already available in the subpanel. You just add a new breaker and run a short wire within the garage.
The installation of a subpanel in a detached structure has very specific grounding requirements. In the past, it was common to run only three wires to a detached garage: two hot wires and one neutral wire, using the neutral as the ground. This is no longer safe or legal code. Modern installations require a four wire system. This consists of two hot wires, one neutral wire, and a separate equipment grounding conductor. This separation is critical. It ensures that the neutral wire, which carries return current, never energizes the metal cases of your tools or the subpanel itself. It creates a dedicated path for faults to clear safely.
Trenching and Underground Wiring
The physical connection between the house and the garage is made underground. Overhead wires are generally discouraged in modern residential construction because they are unsightly and vulnerable to storm damage. Going underground requires digging a trench, and in Patterson, that often means dealing with hard, dry clay. The depth of this trench is dictated by the National Electrical Code to prevent accidental damage from digging.
If you use direct burial cable, known as UF-B, the trench typically needs to be 24 inches deep. However, most professional electricians prefer to use conduit. Conduit is a piping system, usually made of gray PVC, that protects the individual wires. If the wires are in conduit, the trench usually only needs to be 18 inches deep. Conduit offers significant advantages. It protects the wires from rocks, shifting soil, and rodents that love to chew on insulation. It also allows for future upgrades. If you ever need to increase the size of your service, you can simply pull the old wires out of the pipe and pull new, larger wires in without having to dig up your yard again.
Want to know signs you may need a panel upgrade? Click here for more information.
The wire inside the conduit is different from the wire in your walls. You cannot use standard “Romex” (NM-B) cable inside an underground conduit. Even though the pipe is glued together, underground conduits are legally defined as “wet locations” because condensation and groundwater will inevitably get inside. Electricians use individual copper wires with special insulation rated for water resistance, typically marked as THWN. These wires are pulled through the conduit after the trench is backfilled. Using the wrong wire type is a common DIY mistake that leads to short circuits and failure within a few years.
Grounding the Structure
One of the most technical aspects of adding power to a detached garage is the grounding electrode system. Because the garage is a separate structure, it needs its own connection to the earth. You cannot simply rely on the ground wire coming from the main house. That wire is for clearing faults, but the garage also needs protection from lightning and static voltage.
This usually involves driving two metal ground rods into the earth near the garage. These rods are typically eight feet long and must be driven fully into the soil. A heavy copper wire connects these ground rods to the ground bus bar in your new subpanel. This establishes a local “ground reference” for the garage.
This is also where the separation of neutral and ground becomes critical. In your main house panel, the white neutral wires and the bare ground wires are bonded together. In a subpanel at a detached building, they must be kept strictly separate. The neutral bar must “float,” meaning it is electrically isolated from the metal cabinet of the panel. If you bond them together at the subpanel, you create a parallel path for current to return to the main house. This means electricity could flow through the ground wire, the metal conduit, or even the metal water pipes, creating a shock hazard for anyone touching them. An electrician knows exactly how to remove the bonding screw and verify this separation to ensure the system is safe.
Determining Main Panel Capacity
Before you dig a single shovel of dirt, you must look at the other end of the system: your main electrical panel. The power for your garage has to come from somewhere. Adding a 60 amp or 100 amp subpanel to your garage places a significant new load on your home’s main service. You must verify that your main panel has the capacity to handle this addition.
If you have an older home with a 100 amp service, and you already have central air, an electric stove, and a hot tub, your panel might be tapped out. Adding a workshop might overload the main breaker, causing power to cut out to the entire property. An electrician will perform a “load calculation” on your home. This formula considers the square footage and existing appliances to determine your current usage.
If your main panel is maxed out, you may need a “service upgrade” or a “heavy up” before you can power the garage. This involves working with the utility company to bring more power to the home and installing a new 200 amp main panel. While this adds cost to the project, it is the only way to ensure the system is robust enough to handle your needs without dangerous overloads. It also adds significant value to the home and prepares it for future electrification needs.
Interior Wiring and GFCI Protection
Once the power is successfully brought to the subpanel in the garage, the interior wiring can begin. This is where you can customize the space to your needs. However, a garage is not a living room, and the rules for outlets are stricter. Because a garage is considered a potentially damp location with concrete floors, the National Electrical Code requires all 120 volt outlets to have GFCI (Ground Fault Circuit Interrupter) protection.
This protects you from shock if you are using a tool with a frayed cord or if you are standing on a wet floor. You can achieve this protection by using GFCI circuit breakers in your new subpanel or by installing GFCI outlets at the start of each circuit. If you are planning to use the space as a workshop, placement is key. You want outlets mounted higher on the walls, above workbench height, so you are not constantly bending down. You might also want ceiling mounted outlets for plugging in shop lights or retractable cord reels.
Lighting is another critical safety component. Old fluorescent shop lights are being replaced by high output LED fixtures. These work better in cold temperatures and provide the bright, even light needed for detailed work. Planning your lighting circuit separately from your tool circuits is a smart move. If you trip a breaker with your table saw, you do not want the lights to go out at the same time, leaving you in the dark next to a spinning blade.
Adding power to a detached garage is a transformative project. It changes a simple storage shed into a valuable extension of your home. It allows for creativity, productivity, and the safe storage of modern vehicles. Yet, the distance from the main house and the heavy power requirements make it a project that demands professional execution. The risks of improper grounding, trenching errors, and overloaded circuits are real and dangerous. Extension cords are not a solution; they are a hazard. When you are ready to unlock the potential of your detached garage, do it with a permanent, code compliant installation. Contact Frayer Electric in Patterson to assess your needs, calculate your load, and install a power system that is safe, robust, and ready for work.